Looking to impress your guests by serving mimosas at your next party? Let’s set the scene…
Your friends and family are having a blast. The carefully curated playlist you chose is hitting all the right notes and somehow plays everyone’s favorite songs. People are flocking to the mimosa bar you put together like a pro. They’re laughing, chatting, and thoroughly enjoying themselves. But without a bartender in sight, they might not know how to mix the perfect mimosa, no matter how lovely the bar looks.
Not exactly the party atmosphere you were hoping for…
So today we want to shed some light on how to host a mimosas at your party with these 9 pro tips on how to serve mimosas up right. Let’s get into it!
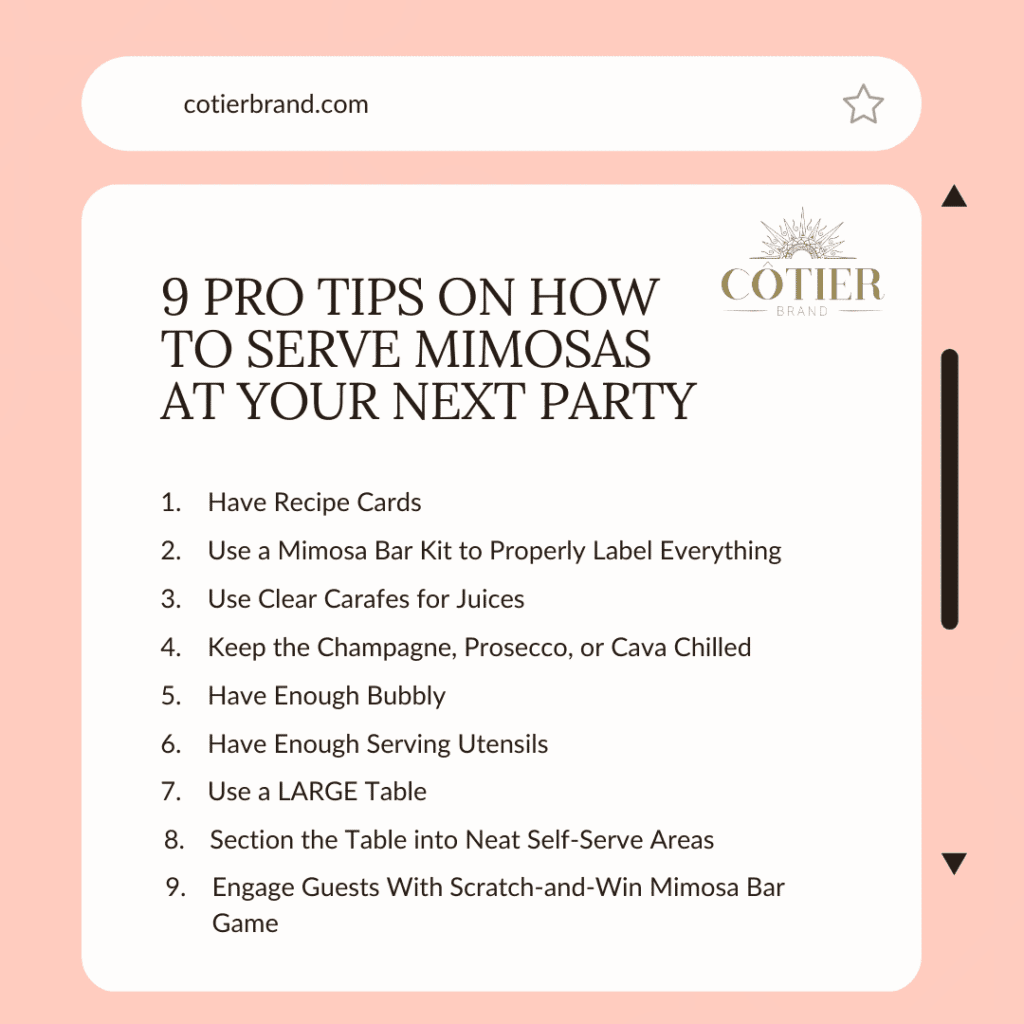
Before We Get Started Remember to Save This Pin On Your Pinterest Board!
How Can Creating a Self-Serve Mimosa Bar Be Easy?
You don’t want to be chained to your awesome mimosa bar at the party all day long. Sure, you have some of the best mimosa recipes but they aren’t worth a grain of salt if your guests don’t know how to make them. Which is why you have to come up with some ways to make the mimosa bar self-serving.
Here are some tips for easily creating a self-serve mimosa bar.
1. Have Recipe Cards
Let’s be real, this isn’t a Chemistry lab. Your guests don’t want to spend several minutes making an overly complex mimosa recipe. They want something fun, simple, and quick. The complicated drinks are for bartenders and mixologists, not your party guests!
Choose two or three of the best mimosa recipes that fit your guest list. Purchase these cute recipe cards or use Canva to make your own. Display the recipe cards at the end of the table where guests will begin their mimosa creation journey and you’re good to go!
2. Use a Mimosa Bar Kit to Properly Label Everything
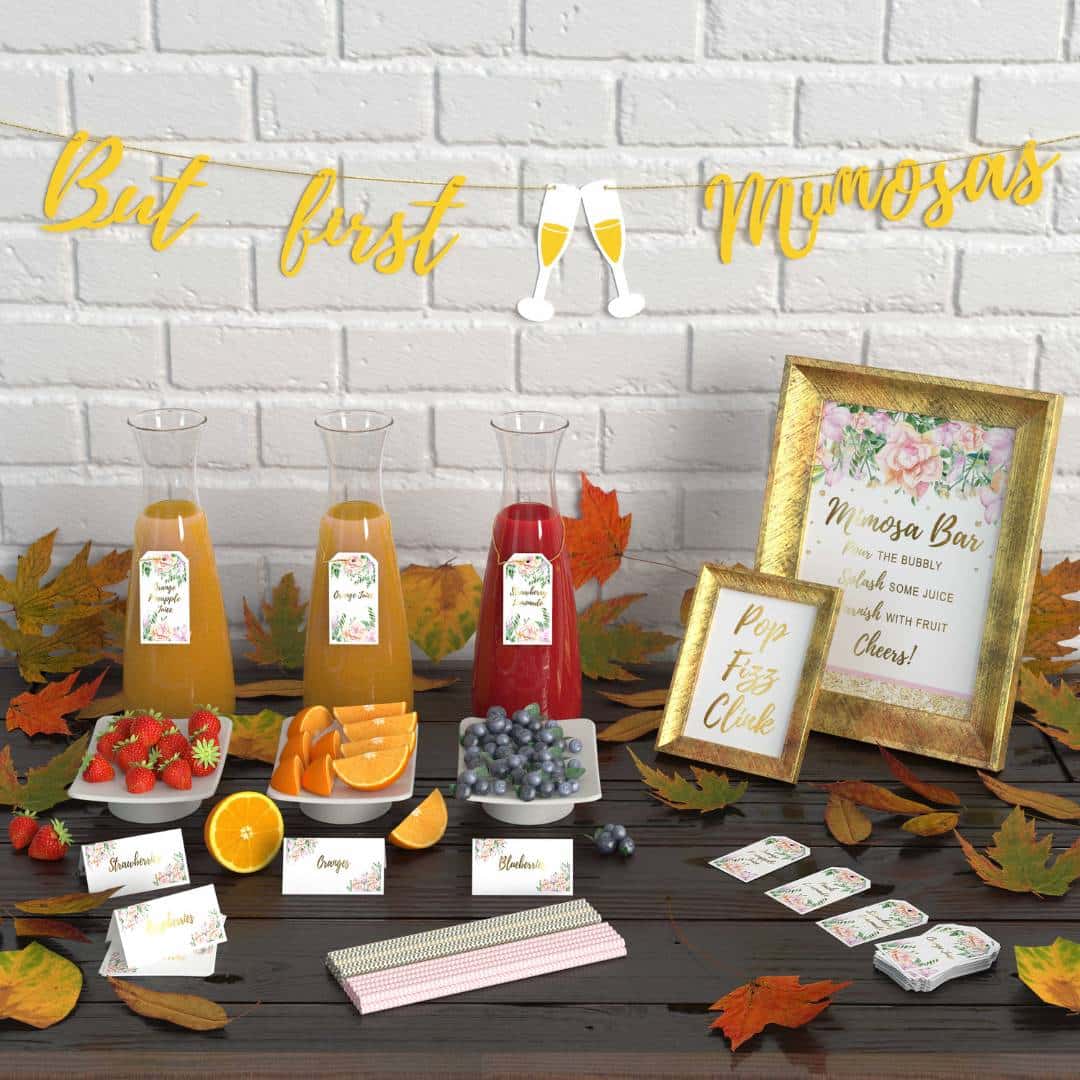
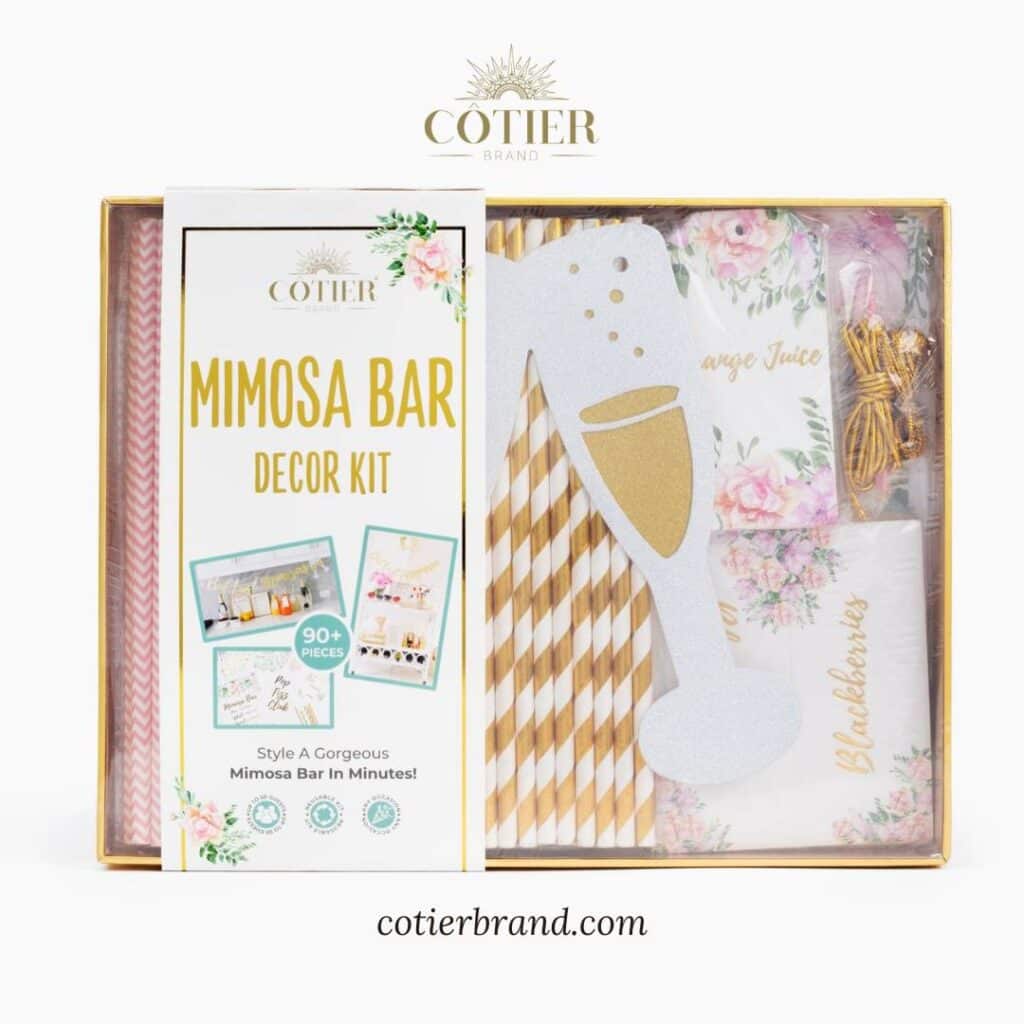
Another great way to make things super simple is by purchasing a full mimosa bar kit. This makes it super easy to label everything in your banging mimosa bar!
Proper labeling is crucial. You don’t want someone who is allergic to pomegranates pouring some pomegranate juice that looks like cranberry juice. “Where’s the medic!?!”
Kits come with everything you need, including the fun labels and even a mimosa bar sign!
3. Use Clear Carafes for Juices
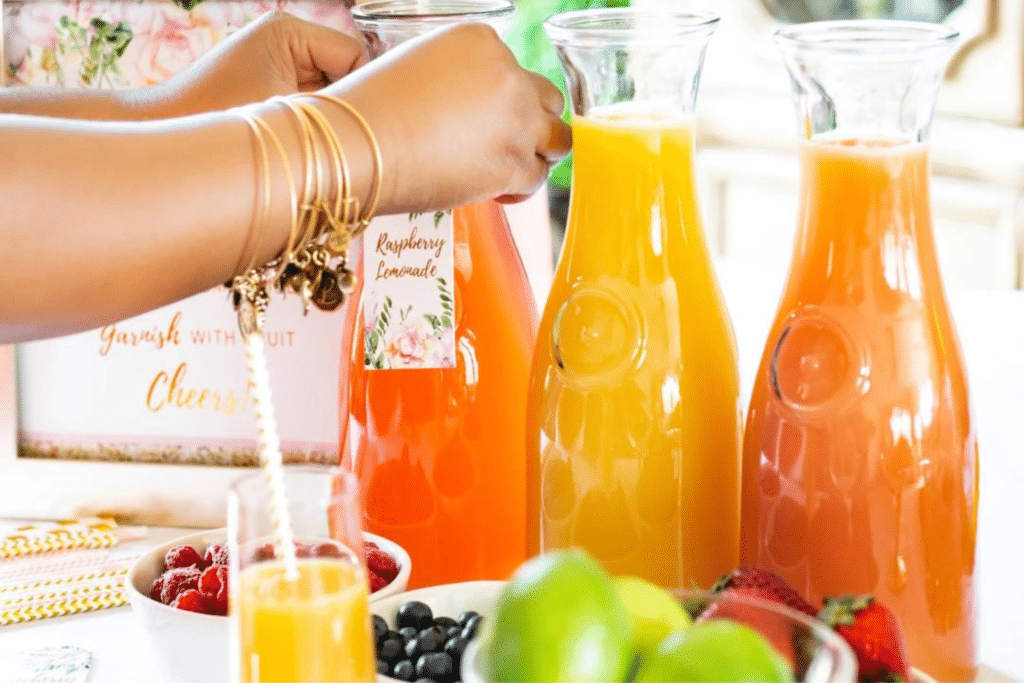
Proper labeling is great. However, guests want to clearly see what they’re pouring into their champagne flutes. Obscure containers make it less likely that they will want to create a nice, refreshing mimosa.
Go with carafes for your juices to make things easy for the guests. Plus when you have different colored juices, it makes it colorful.
4. Keep the Champagne, Prosecco, or Cava Chilled
Do you serve mimosa over ice? NO!!!!! Ice waters down the potent flavors of your mimosa. So don’t put ice anywhere near that bar, because if you do, you’re guests will probably use it and not realize what they are doing.
That doesn’t mean, however, that your mimosas shouldn’t be cold.
How can your guests get a chilled mimosa at a self-serve mimosa bar you ask? Simple. Chilled bubbly. That’s right, you should keep your bubbly chilled. The technique you use to do this depends on how long you think the party will last.
You could:
- Keep the bubbly in the fridge overnight so that it’s chilled for the party. This strategy works best for parties that probably won’t last for more than two hours. It also depends on whether the party will be held indoors or outdoors.
- Put the bubbly in a bowl filled with ice. Check on your ice bowl every twenty minutes to half an hour to ensure that all the ice hasn’t melted. If it has, replenish the bowl.
- Use both methods, especially if the party is expected to last for more than two hours.
5. Have Enough Bubbly
Imagine this, you see disappointed looks on your guests’ faces but can’t figure out what’s wrong. People are mingling. Yet, everyone is walking away from the mimosa bar without a mimosa.
“Oh no! There’s no more bubbly!”
Don’t let this happen to you. You can get about 6 to 8 mimosas from a 750 mL bottle of champagne. Eight bottles of champagne should be just right for a group of 20 guests who each have about 2 to 3 mimosas. So plan ahead accordingly.
Always have enough bubbly! The same is true for the juices you use to complement the bubbly. Always have enough juice!
The only way that you’re going to truly know if you have enough bubbly and juice is if you check on your mimosa bar at least once every 20 minutes.
6. Have Enough Serving Utensils
The mimosa bar recipes you’ve chosen for this party are going to be so good that guests will be clamoring for more! Sure, guests can use their Convokins to strike up a conversation while they wait for the opportunity to self-serve. But, you don’t want to keep them waiting for too long.
When thinking about your mimosa bar ideas, you should be thinking about how you can expertly craft them with the guests in mind. A mimosa bar should have enough serving utensils that two to three people can use simultaneously if you have a small crowd. This may mean having multiple serving bowls and spoons for your mimosa toppers rather than just one.
Just think about the amount of guests you have ahead of time.

How to Serve Mimosas to a Crowd
A self-serve mimosa bar works well for parties with small or large crowds. However, there are some crucial points that you should bear in mind while you set up your awesome self-serve mimosa bar for a larger group.
7. Use a LARGE Table
You don’t want to create a mimosa bar where people have to huddle together like NFL players. Use a large enough table to give people the social distance they need.
8. Section the Table into Neat Self-Serve Areas
There should be more than one self-serve mimosa bar. The table could probably be divided into four or five mimosa bar sections. This makes it possible for lots of people to self-serve simultaneously.
Another approach on how to serve mimosas could be to lay out four or five mimosa bar self-serve areas throughout the room. Therefore, people can get their mimosas at different places rather than congregate in one area.
Don’t forget to use our pre-made mimosa bar kit to make these self-serve areas easy to identify.
Remember to save this pin to your Pinterest board!

9. Engage Guests With Scratch-and-Win Mimosa Bar Game
We believe in creating engaging and memorable party experiences here at Cotier Brand. Some of your guests may need a little push to try one of your mimosa bar recipes. This unique scratch-and-win mimosa bar game may do the trick.
Here’s how it works.
Game Prep
- Contact scratchoff.com to create custom mimosa bar scratch index cards for your party.
- Place an image of your party’s signature mimosa recipe under the scratch area for most (not all) of the cards.
- Print enough scratch and win cards to distribute to about ⅓ of the guests. You can’t distribute to everyone because you’re dealing with a large crowd and don’t want confusion when it’s time for the game.
Game Instructions
- Randomly distribute the cards to guests.
- Ask the DJ to play some champagne-popping music. This is the signal to let you know that it’s time for the game to begin.
- Have guests scratch their cards at this point.
- Those with the mimosa picture should go quickly to a mimosa bar station, make the signature drink and come up with the best party-relevant name for it.
- The person(s) who comes up with the best name wins.
Serve Mimosas at a Self-Serve Mimosa Party Like a Pro
Creating a self-serve mimosa bar is definitely one of the best ways to serve bubbly drinks at your mimosa party.
The key is to plan ahead and make sure that you have enough supplies, beverages, serving utensils, and goodies for your guests to choose from. And if you want to make it even easier on yourself, make sure to get a full mimosa bar kit!
With our tips and guide on how to serve mimosas at a self-serve mimosa bar, you’ll be able to execute a perfect champagne brunch like a pro!
Cheers and happy sipping! 🥂
For more party inspiration, hosting tips, and exciting new ideas, join our mailing list and follow us on Instagram @cotierbrand


